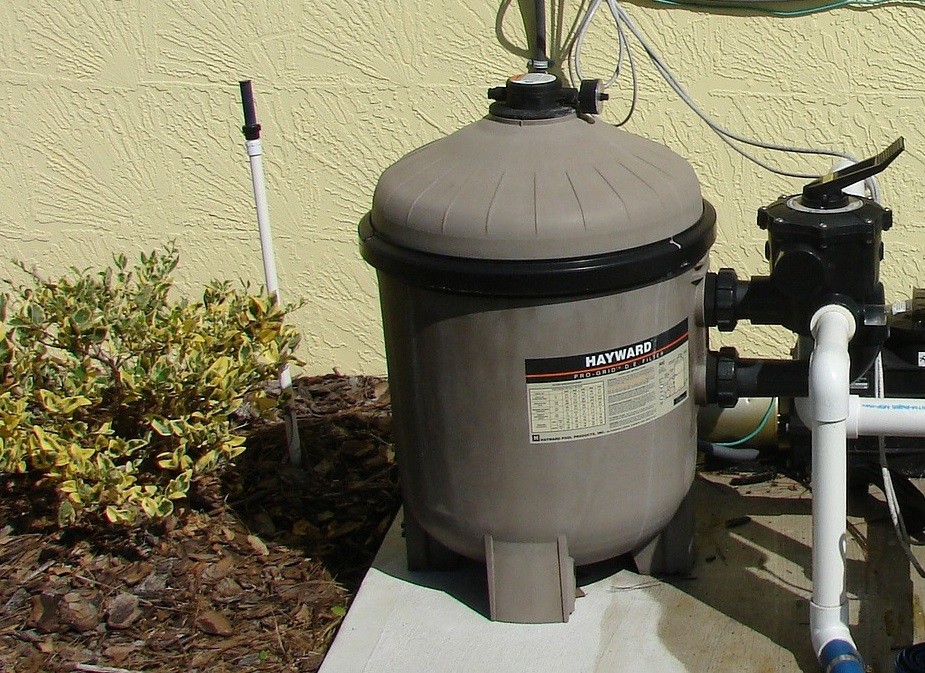
The sand pool filter is one of the most popular filter options for most pool owners. It is a cost-efficient option that works well in filtering your pool water. Unfortunately, the sharp edges of the sand filter wear out over time which decreases its efficacy.
Like any other filter, a sand filter also needs to be changed once every 5 to 7 years. This way, you can ensure that your swimming pool will be filtered properly. However, if you plan to change your sand pool filter on your own, you must follow the steps below.
Prepare All the Right Equipment

The first thing you should do is to gather the equipment that you will need. This way, all the necessary things are already in one place and within your reach. This will help you save time and effort.
The things you will need when you want to change the sand on your swimming pool sand filter are:
- The sand itself
- Hacksaw (Optional)
- Teflon Tape
- Lubricants
- Screwdriver
- Pool Pump Unions fittings
- Duct Tape
- Vacuum
- Garden hose
- O-ring
Shut Down the Pump
After you gather all the equipment, the next thing you must do is shut down your pool pump. Next, make sure that you shut off the circuit breaker to ensure safety during the process. One thing that can happen if you do not shut off the circuit breaker is that it can activate anytime during the procedure.
This can happen if you forget to turn off the timer of your pool pump. In this case, the pump will automatically turn on during the scheduled run time. Therefore, it is always recommended to shut off the circuit breaker before you proceed. If the pump happens to run when it is dry, there is a huge chance it will burn out.
Drain the Filter
Once the pump is completely shut off, you can now start draining the filter. To do this, you have to remove the drain plug found on the bottom of your filter tank. Next, let all the water inside your pool filter drain out.
You can let the water drain directly on the ground, or you can opt to install a hose to let the water drain far from the filtration system. It is advised to drain the filter tank early in the morning as it can take a while. You can then come back later in the afternoon where it is not that hot outside and the water is completely drained out of your filter tank.
Detach the Multiport Valve

Remove the hose and pipes connected from your multiport valve. In case that your valve is hard plumbed, it is advisable to cut the PVC pipe. This is where a hacksaw is needed. This might be an uncomfortable task to do, especially if you are a first-timer.
Calling a professional can be your best bet if you haven’t sawed a PVC pipe out of your valve before. After the PVC has been cut, you can attach union fittings to your valve so that you will never have to cut the pipe with a hacksaw next time.
Remove the clamp or collar that secures the valve from the tank by using a screwdriver. Then, slowly twist and pull up the multiport valve to detach it.
Secure the Standpipe Opening
When you pull out the multiport valve, you will see a standpipe inside. You have to secure the standpipe by covering it with duct tape. This is to avoid the sand from getting inside the standpipe. It is why you must ensure that you cover the standpipe properly.
If sand makes its way inside the standpipe, that sand will be washed off into your swimming pool once you start the pump. So it will not be a good thing for your pool and a whole other task for you to do once sand reaches the pool. Plus, it can also clog the laterals.
Remove the Old Sand
After securing the standpipe, it is now time to get rid of the old sand from your filter. You can remove the sand by scooping them out with a plastic cup. Or you can also make it easier and quicker by using a vacuum.
Most people opt to remove the sand with a vacuum as it is more convenient for them. However, manually scooping out the sand will take forever and is also a pain in the back.
Remove the Standpipe and Laterals
Slowly pull the pipe and lateral assembly from the tank. Then, gently rotate the lateral up to the side so that you can completely pull it out of the tank. Once the pipe and lateral are already pulled out of the tank, you must inspect them for damages.
This is also the best time to replace whatever parts look broken or worn out. If you notice that the laterals are clogged, you can soak them in water with a cleaning solution for a couple of hours. Once done, you can now rinse it properly, and it is ready for reinstallation. Additionally, it is also best to replace broken laterals for better filter performance.
Rinse the Tank

Before you reinstall the pipe and laterals, you have to rinse the filter tank first. Then, use a garden hose to clean the tank thoroughly. As you are rinsing the tank, you can also inspect the drain cap for any damages.
You can replace a new drain cap if it is all worn out. Once the filter tank is completely clean, fill it with water halfway. This way, the water can protect the laterals once you start dumping the new sand inside the tank.
Reinstall the Pipe and Laterals
Place back the pipe and laterals slowly into the tank. Slowly rotate the laterals into their downward position once the pipe and laterals are safely inside the tank. Once all laterals are in place, slowly secure the pipe at the bottom of the tank.
Make sure that the pipe is in the same place before you remove it from the tank. For example, the pipe should be at the center of the tank before you start pouring the new sand inside the filter tank.
Add the Fresh Sand
Gently pour the new sand into the tank while making sure the pipe stays at the center. Next, pour a generous amount of sand that is enough to cover the lateral at the bottom of the tank. Usually, three bags of sand will be all that you need.
This amount will cover the lateral perfectly while ensuring there will still be a 6 inches gap between the sand’s surface and the top of the tank. Do not forget to level the sand as you slowly pour it inside.
Inspect the O-Ring
Before you install back the multiport, it is best to inspect its o-ring first and possibly replace it with a new one. You can opt to replace the o-ring only when you notice excessive wear and tear.
However, it is still best to replace the o-ring every time you replace the sand on your sand filter. Replacing sand on your filter should be done every 5 to 7 years which is why it also makes sense if you replace the o-ring along with it even if it still looks fine.
Reinstall the Multiport Valve
Remove the duct tape from the standpipe and carefully place the multiport control valve into the standpipe. Once you ensure that the multiport is in the same place as before, you can now secure it with a clamp.
Use the screwdriver to secure the clamp back into the valve. Then, reconnect all the unions of the pump and return ports. You can as well check the unions if it needs to be replaced with a new one.
Perform a Backwash

Once everything is installed back in place, you can now start backwashing your filter. While the pump is still shut off, you can now set it to the backwash setting. Once you have set the settings into backwash, turn on the circuit breaker and run the pump.
Run the pump for a good 2 to 3 minutes to ensure that impurities and fine sand will be removed during the backwashing stage. Once you notice that the water from the backwash is clearer and cleaner, switch the pump off immediately.
Set the multiport to rinse and turn the pump back on. Let it run for about a minute as this is usually enough to clear the water in the sight glass.
Great Job in Replacing the Sand on Your Filter!
Congratulations, you have replaced the sand on your sand pool filter with new ones. You can now be sure that your pool water will be cleaned and filtered properly. So enjoy your newly replaced sand pool filter by swimming in that crystal clear water.


