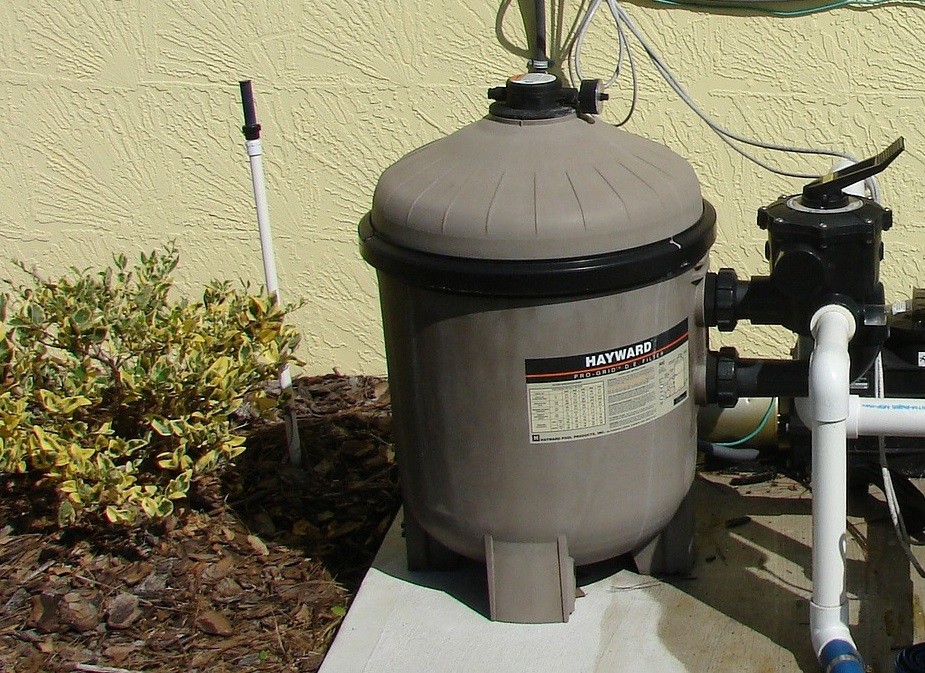
The Hayward Aqua Logic and Pro Logic motherboard have pretty similar features and functionalities. If you own either Hayward Aqua Logic or Pro Logic, this guide will help you adjust your system’s salt cell output.
There are pool owners who are not yet familiar with their system and think it is difficult to adjust the salt cell output. But, little do they know that it is straightforward to do it. If you are looking to adjust your system and want to increase or decrease the salt cell output, follow this guide below, and you will be good to go.
Adjusting Hayward Aqua Logic and Pro Logic From Motherboard
Step 1:
Open your Hayward Aqua Logic or Pro Logic motherboard. Chances are, your system will still be running when you conduct this adjustment. It can be noisy, but it is fine, and normal especially if it is running.
Step 2:
Look for the Service button on the motherboard. Notice that the tiny indicator light right next to it is turned off and is not flashing.
Step 3:
Turn the system into time out by pressing the Service button twice. Note that by pressing the Service button once, the system will only set on the Service mode, and the light indicator will turn on. Pressing it twice will put the system into the time-out mode, which is what you would want.
When the system is on Service mode, the system will stay on whatever function you have set. So, for example, if you set the filter to run and turn on the Service mode, it will continually run until you get the Service mode off.
On the other hand, if you have it turned off, the system will stay stopped until you turn off the Service mode. Remember, if you leave your swimming pool system off for a few days, it will make your pool green and dirty.
Step 4:
When you press the Service button twice, you will notice that the indicator light beside the button will flicker. It means that you have already set the system into time-out mode.
Setting your system on the time-out mode will ensure that when you forget to turn it back to its normal process, the system will automatically disable the time-out mode.
It will allow your Hayward Aqua Logic or Pro Logic to run back on its original settings after an hour and a half.
Step 5:
Click the Menu button, and you should see “Setting Menu” on the display monitor.
Step 6:
You can change the menu display on the display monitor using the arrows located on both sides of the Menu button. Click the right arrow to change the menu option.
Step 7:
After hitting the right arrow twice, it will take you to the “Pool Chlorinator” settings. You will notice the percentage below the word “Pool Chlorinator.” That percentage is the reading of your pool chlorinator. It is the output of the cell, which is what we are going to adjust.
Step 8:

To bring the pool chlorinator level down, you will have to push the minus button you can find on the Hayward Aqua Logic or Pro Logic motherboard. If you want to bring the pool chlorinator level up, you will have to press the plus button instead. You will locate the plus and minus buttons in the middle of the control panel.
By pushing the minus or plus button, you will notice that the percentage level of the pool chlorinator increases or decreases by 5% increments. Keep adding or subtracting the percentage level until you reach your desired salt cell output reading.
Step 9:
Press the Menu button again once you have done adjusting your pool chlorinator level. You will notice on your display monitor that the “Timers Menu” will appear. Press the Menu button once again, and it will bring you to the “Diagnostic Menu.”
Push the Menu button again, and then see the “Configuration Menu-Locked” on the display button. You do not want to mess with this feature, so it is better to push the Menu button once again to bring you to the “Default Menu” finally. Leave your system with this menu.
Step 10:
Once you set the system into the “Default Menu,” you will notice that the display on the monitor will be back at what it was before you started configuring it. It typically displays the date and time, air temperature, salt levels, and the likes.
Step 11:
Turn the system back on by pressing the Service button. Once the system goes back to its regular function, you will hear the system firing back up again.
Step12:
Finish it all off by closing the Hayward Aqua or Pro Logix motherboard.
Additional Note

Putting the system on the Service or time-out mode is not necessary. You can skip that step and adjust the salt cell output as-is. However, the system’s noise while running can be very inconvenient, and working in silence can be better.
So, if you think that you prefer to set the system first to the service or time-out mode, do it. But if you prefer not to, then don’t. It won’t provide any difference anyway.
Congratulations!
Well Done! You have successfully adjusted your Hayward Aqua and Pro Logic salt cell output on your own. Revisit this article every time you want to adjust your system’s salt cell output to ensure that you will follow the correct steps each time you configure your Hayward system.


